Frame Ready Guide
How to Use Frame Ready
What Frame Ready is for
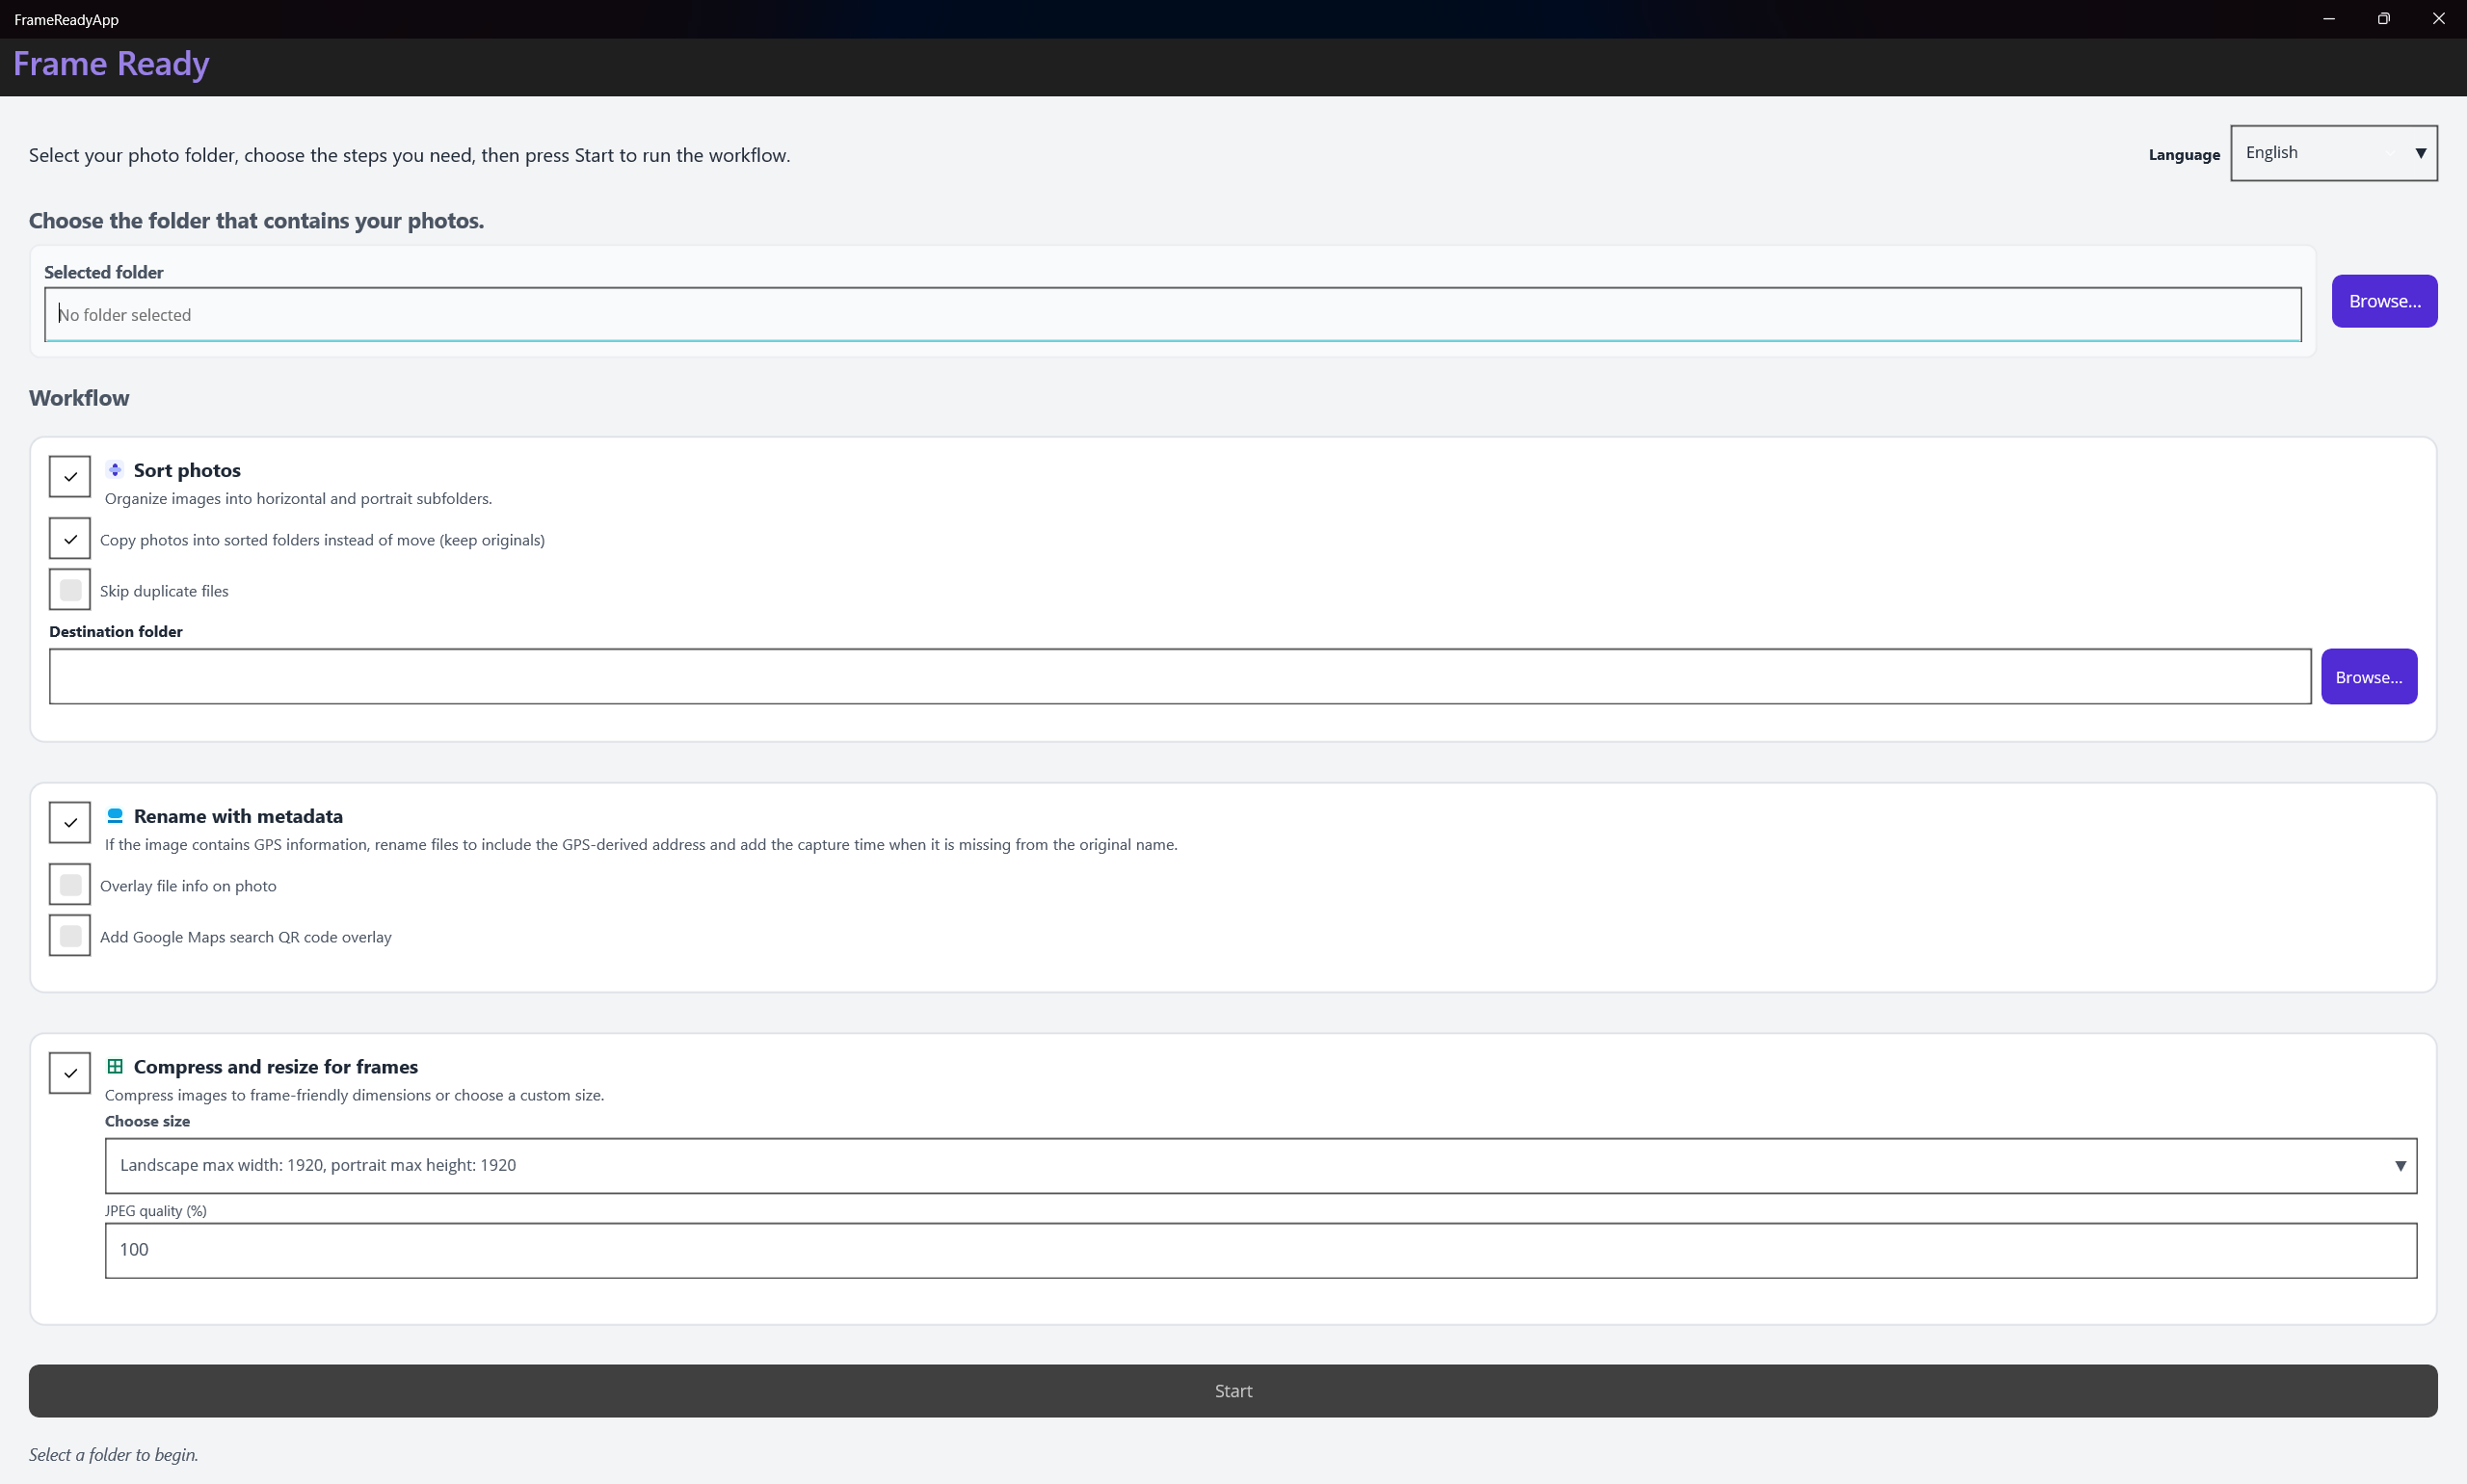
Frame Ready is a practical Windows workflow for anyone who wants a digital photo frame to look good without spending a whole weekend sorting pictures by hand. Digital frames are simple once the files are prepared, but they can be surprisingly picky before that point. Some frames dislike large images. Some display portrait shots awkwardly. Some reject videos or duplicate names. Frame Ready sits between your phone, camera, or backup folder and the final frame upload, giving you one place to clean the library before it reaches the device.
The screenshot above shows the Frame Ready overview page on xdage Creations. The core idea is straightforward: copy your media to a Windows folder, let the app classify and clean it, then move the prepared output to the digital frame. That sounds simple, but the value is in doing it consistently. If you have thousands of family photos, vacation shots, screenshots, duplicate exports, and videos mixed together, manual cleanup becomes error prone. A frame-ready workflow prevents random oversized files or wrong-orientation photos from weakening the final slideshow.
Step 1: start with a working folder
Before opening Frame Ready, create a temporary working folder on your PC. Copy the photos and videos you want to process into that folder rather than working directly from your phone or camera card. This gives you a safe staging area. If something is sorted, renamed, compressed, or moved in a way you do not like, your original files are still available. For family archives, I recommend a folder name that includes the event and date, such as 2026-summer-trip-frame-export. It makes the output easier to find later.
If you are copying from an Android phone, avoid repeatedly importing the same camera folder without cleaning up the source. After a successful transfer, move the imported items out of the phone camera folder or track the date range you already copied. This prevents accidental duplicate batches. If you are copying from iPhone exports, watch for edited copies and originals that appear side by side. The app can help organize files, but starting with a clean import makes every later step easier to review.
Step 2: sort by orientation
The first major Frame Ready habit is orientation sorting. Most digital frames are physically placed in either landscape or portrait orientation. A landscape frame can show portrait photos, but the result often has large side bars or awkward crops. A portrait frame can show landscape photos, but the same problem appears in reverse. Sorting files into landscape, portrait, and square groups lets you decide what belongs on each frame instead of discovering the mismatch after upload.
This is especially helpful when preparing gifts. If you are setting up a frame for parents or grandparents, you may not be nearby to fix it later. A landscape output folder gives you a safer set of images for a horizontal frame on a shelf. A portrait folder works better for vertical frames. Square images can be reviewed separately because some frames show them well and others crop them too aggressively. The point is not to delete anything. The point is to give yourself clean choices.
Step 3: remove duplicates before upload
Duplicate photos make a frame feel less polished. The same image might appear as an original, a resized export, a message attachment, and a downloaded copy. When duplicates are mixed into the slideshow, the frame feels repetitive even if the library is large. Run duplicate cleanup before compression and before final transfer. That way you do not spend time compressing files you will not keep, and the output folder stays easier to inspect.
When reviewing duplicates, be conservative if the pictures are meaningful. Keep the higher-quality original when you can. If two images are visually similar but not identical, check whether one is sharper, better cropped, or more emotionally useful. A digital frame is not a backup archive; it is a viewing experience. The best file is the one that looks good on the device and keeps the memory clear. Frame Ready helps reduce the busywork, but your final judgment still matters.
Step 4: compress only what needs compression
Many digital frames have file size limits. Some reject images above a certain number of megabytes. Others accept the files but sync slowly or behave unpredictably. Use Frame Ready compression to bring oversized images under the target limit while keeping display quality high enough for the frame. A frame screen does not need the same file size as a print archive. It needs a clean, viewable image that loads reliably.
A good approach is to preserve your originals somewhere else and treat the compressed folder as an export. Do not think of the compressed copy as your master file. Think of it like a device-specific version, similar to exporting a smaller video for sharing. If the frame limit is 8 MB, aim below that limit with a little margin. When the frame has a lower resolution than your phone camera, compression usually has little visible downside during normal viewing.
Step 5: review the output as a viewer
After sorting, cleanup, and compression, open the final folders before uploading. Scan them like the person who will watch the frame. Are there screenshots mixed in with family photos? Are there blurry shots that should be removed? Are there portrait pictures in the landscape folder? Are videos supported by the target frame? This final review takes much less time after Frame Ready has done the mechanical organization.
When the folder looks right, load it onto the frame using the manufacturer app, memory card, USB drive, or cloud upload method. Keep the output folder on your PC until you have verified the frame displays the images correctly. If anything looks wrong, adjust the output and reload. Once the frame is working, you can keep the exported folder as a record of exactly what was sent to the device.
A reliable repeat workflow
The strongest way to use Frame Ready is to repeat the same process every time: copy to a working folder, sort by orientation, remove duplicates, compress oversized files, review the final folders, and upload. That repeatable process is what turns a messy library into a reliable frame experience. It also makes future updates easier. When you want to refresh a frame with new photos, you do not need to solve the entire organization problem again. You just run the same workflow on the new batch.
Frame Ready is most useful when you stop treating digital frame prep as one huge cleanup project. Use it as a small production step. Each time you gather new photos, prepare them in a controlled folder and move only the best output to the frame. Over time, your frame stays fresh, the library remains organized, and you avoid the common frustration of devices rejecting files after you thought the hard work was already finished.